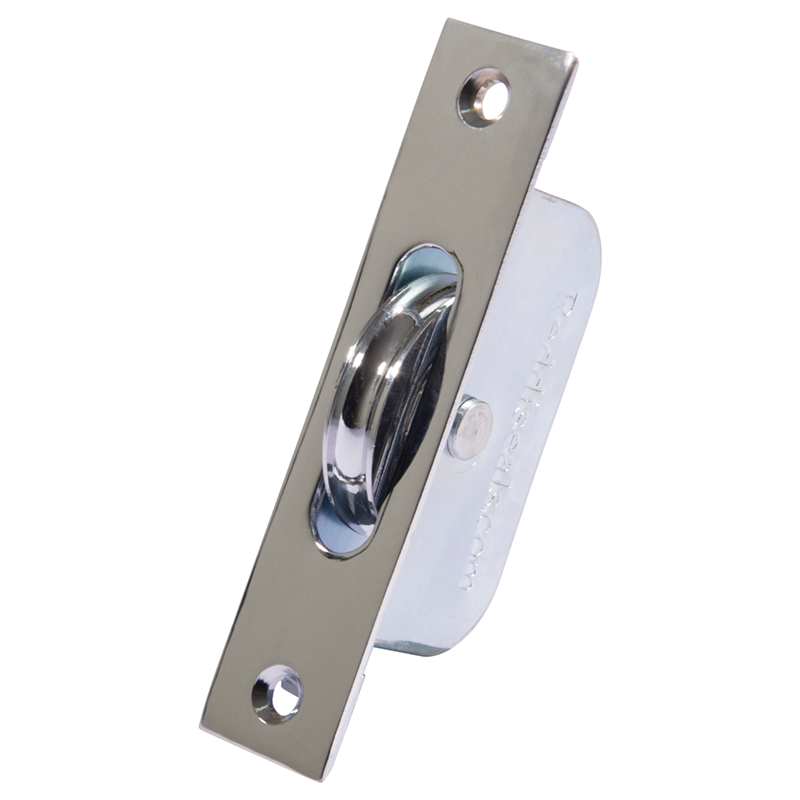
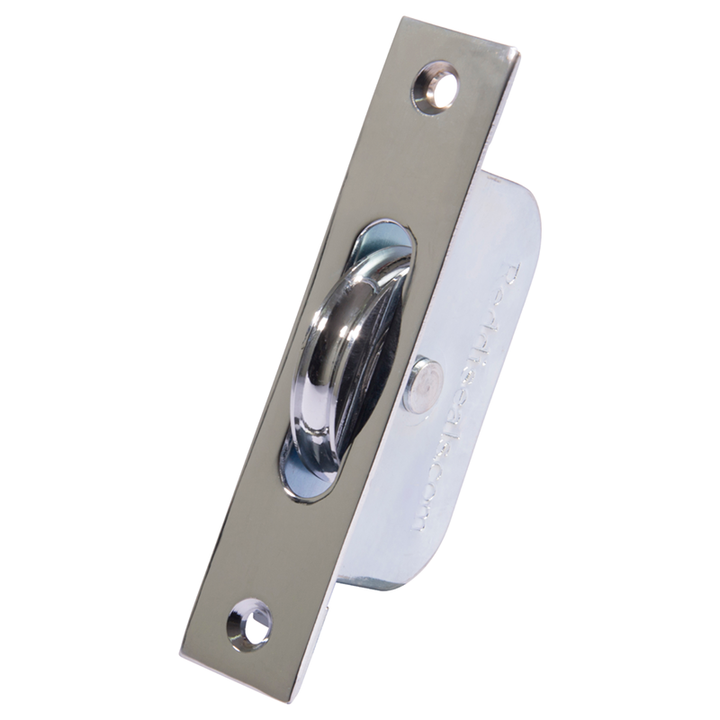
Standard Curved Wheel Sash Pulley - Square End - Polished Chrome
Our standard curved wheel sash pulley with ball bearing mechanism is very versatile, recommended for use in all sash windows (up to 75kg), in a square end.
- Ball bearing pulleys
- Recommended for use in most sash windows
- Max. sash weight: 75kg
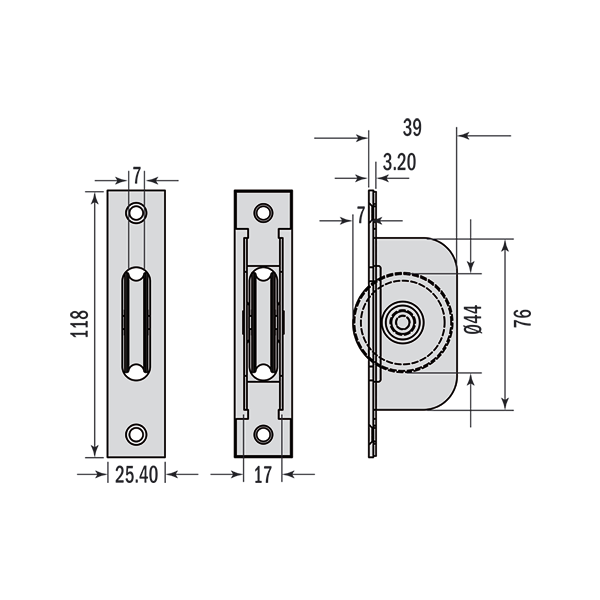
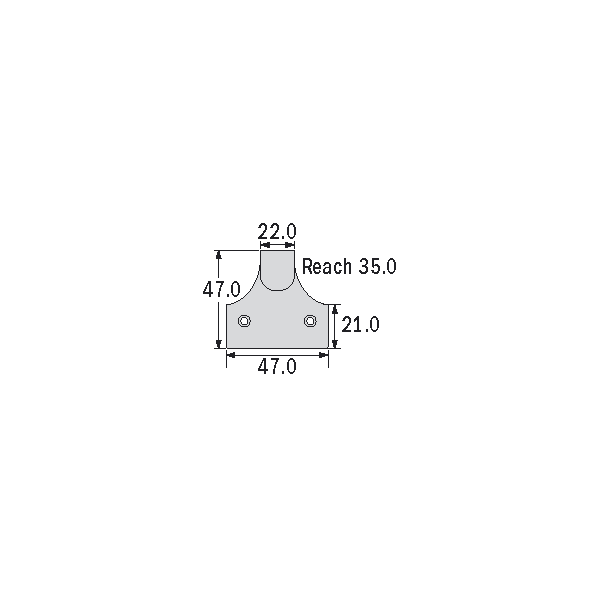
- Face plate: 1 x 4 ⅝” / 25.4 x 118mm
- Wheel diameter: 1 ¾” / 44mm
- Recess: 39mm
- Use with: Cord
- Wheel type: Curved
- Face plates and wheels are manufactured from brass as standard with a strong mild steel wheel holder.
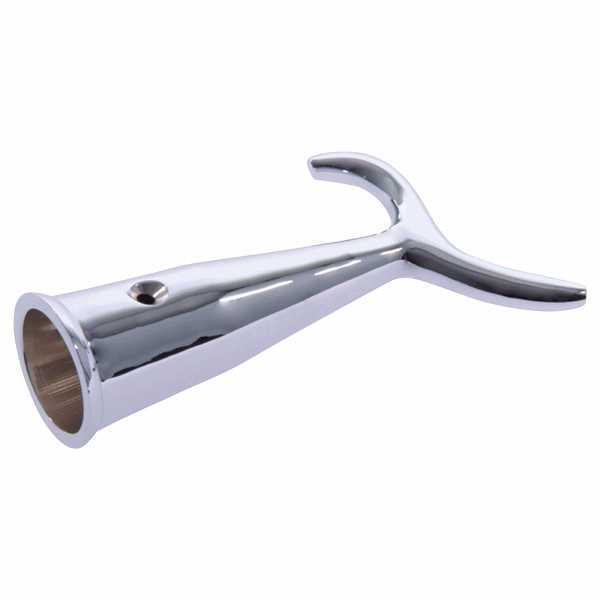
You might need...

- Phone support | 0425 229 090
• Front plate and wheel are available in 3 different finishes: Polished Brass; Polished Chrome;
Satin Chrome;
• Front plate fits a recess: 25.4mm (w) x 118mm (h) x 3.5mm (d).
• Wheel holder fits a recess central to the front plate: 17mm (w) x 76mm (h) x 39mm (overall depth)
• For use with sash cord only.
• Use with sash cord with the same weight bearing capacity (75Kg) as the pulley.
• Countersunk screw holes for a flush fit.
• It is not necessary to lubricate this pulley wheel before use.
• As a general maintenance guide, it is recommended that after a few years of use, lubricating with a
light oil will help protect, and maintain the life of the wheel.
• Never use a solvent lubricant such as WD40, as this can strip out the grease from the ball bearings
TIP: We always recommend having all materials onsite PRIOR to commencing any restoration project as sometimes delays occur in the courier network which are outside of the control of Lock and Latch.
Installation:
1. Mark the side jamb as close to the top as possible (min 10mm) and central to the sash.
2. Rout out a recess 39mm deep to fit the wheel holder 17mm (w) x 76mm (h).
3. Chisel out a groove to fit the front plate of size: 25.4mm (w) x 118mm (h) x 3.5mm (d) with the
routed recess central to it.
4. Drill a pilot hole for the screws and fix the pulley to the side jamb.
5. Unscrew the pocket at the bottom of the side jamb. Cut the sash cord to the required length and feed
it down through the pulley until it can be pulled out of the bottom of the jamb.
6. Thread the cord through the centre of the lead weight and tie a knot in the end to secure.
7. Feed the cord and lead weight into the side jamb and re-attach the pocket.
8. Fix the sash cord to the routed groove approximately midway down the sash.
9. Repeat this process for the opposite side of the sash, making sure the sash is horizontal.
10. Check that the sash slides freely and adjust as required.
🚚 Shipping & Delivery Information
Please note: We are unable to guarantee any delivery times. If you are in urgent need of your items, please contact us on 0425 229 090. We may be able to arrange an express delivery service, if available.
Local Pick-Up Option: We have a warehouse in Warriewood, Sydney where local pick-up is available. This is by pre-arrangement only. Please contact us to organise a suitable time before visiting.
Important: We always recommend having all materials onsite prior to commencing any restoration project, as delays in the courier network can occur and are outside the control of Lock and Latch.
🌍 International Orders
For international shipping quotes, please contact us on +61 425 229 090.
📦 Estimated Delivery Times
NSW, QLD, VIC
Metro areas: 2–5 business days
Regional & Country areas: 3–14 business days
Western Australia
Perth & Metro areas: Up to 10 business days
Regional areas: 3–14 business days
Public holidays, especially around Christmas, tend to cause delays due to increased volume and reduced working hours. Many courier services experience slower processing times, and there's often a backlog of parcels. Please allow for delays during this time.
